Setting up your WordPress hosting is the first crucial step in establishing your online presence. Whether you’re a beginner or someone looking to switch hosting providers, this ultimate guide will walk you through each step, ensuring a smooth setup process. Let’s dive in and set up your WordPress hosting!
1. Familiarize Yourself With BlueHost
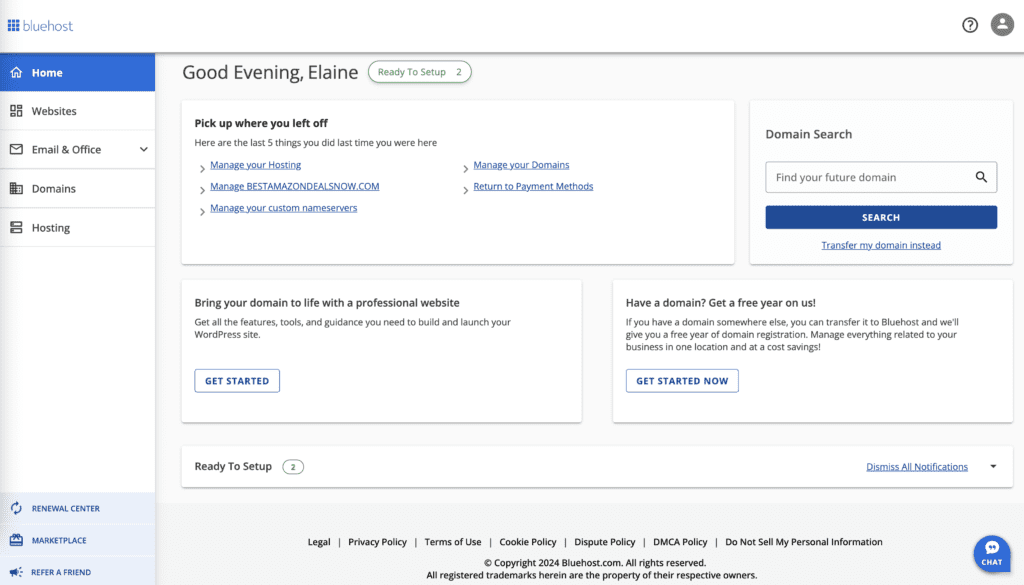
After you sign up for an account you’ll have access to and be re-directed to: https://www.bluehost.com/my-account/home.
You can always get help by clicking the chat button and an agent will help you navigate the platform – their customer service is excellent too!
2. Install WordPress
You’ll immediately get access to a one-click WordPress installation option which will pop up.
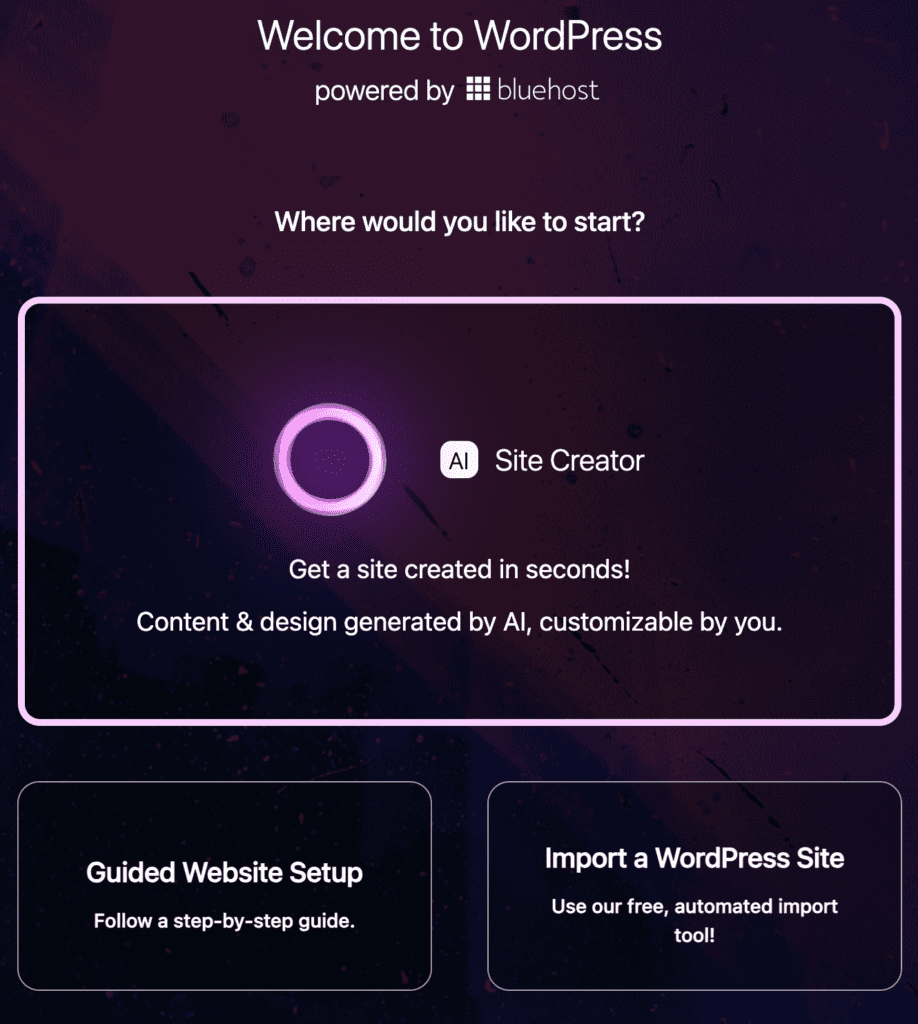
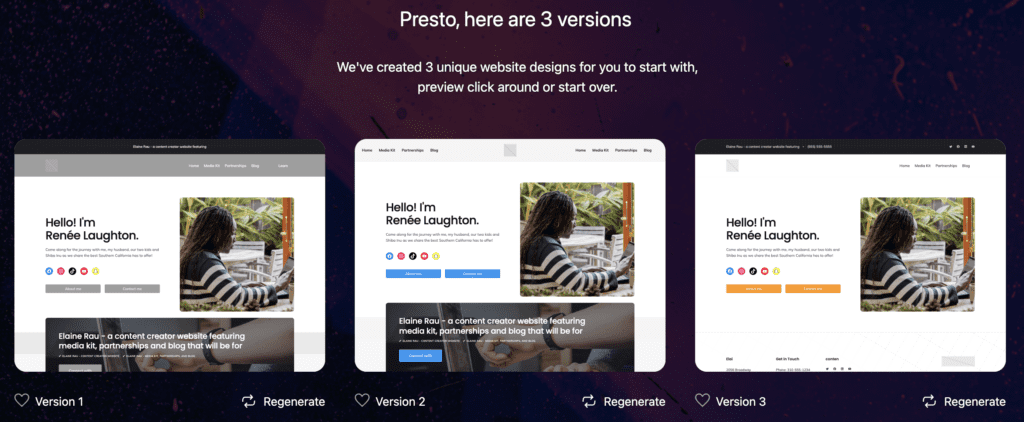
I would just go the AI route and it will generate a few designs for you according to what you type in.
You can always change this layout later, this is just for a quick start for you to have something up right away.
3. Configure Your WordPress Settings
Now that WordPress is installed, it’s time to configure your site settings.
You can always log into WordPress using this url: https://yourdomain.com/wp-admin (substituting “yourdomain” with your actual domain name).
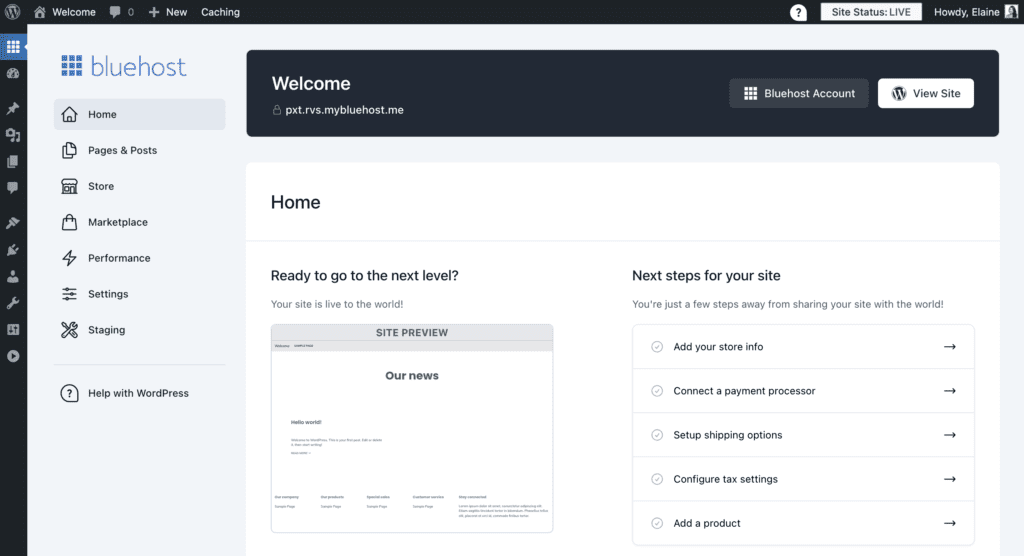
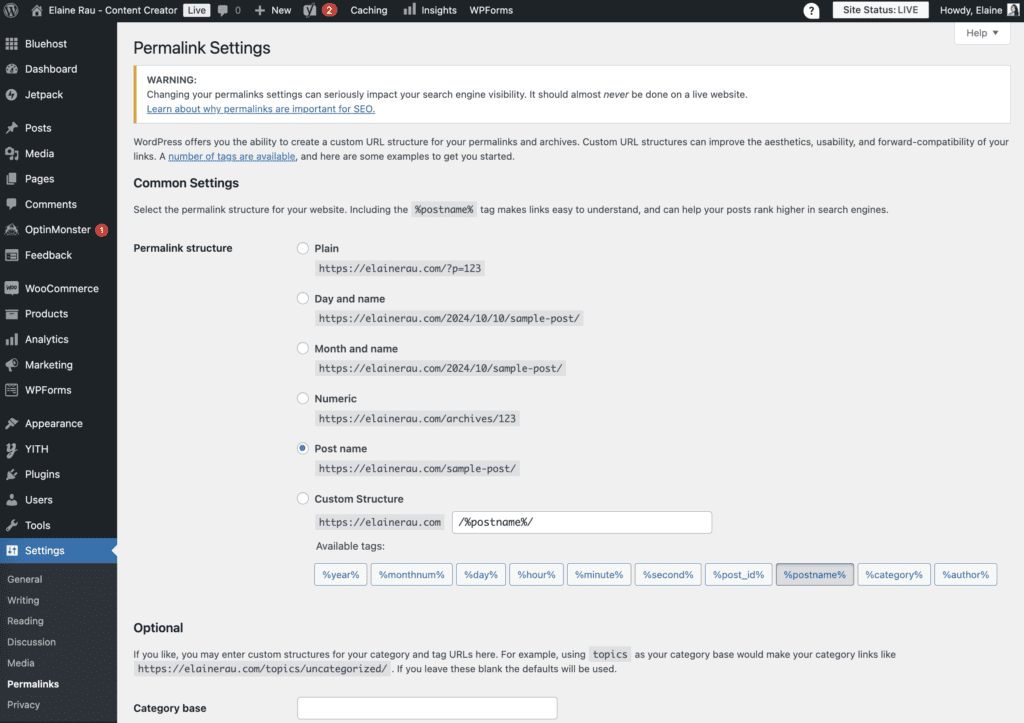
To find your settings use the BLACK menu bar, click on “Settings” making sure that your “Permalinks” are selected as “Post name” as this is the best one to set you up for good SEO linking.
Conclusion
Setting up your WordPress hosting doesn’t have to be daunting. By following these step-by-step instructions, you can launch your website with confidence. Remember, the key to success lies in choosing the right hosting provider, maintaining your site regularly, and continually optimizing for performance and SEO. Happy blogging!
Next lesson: How to Set Up Your Blog Theme